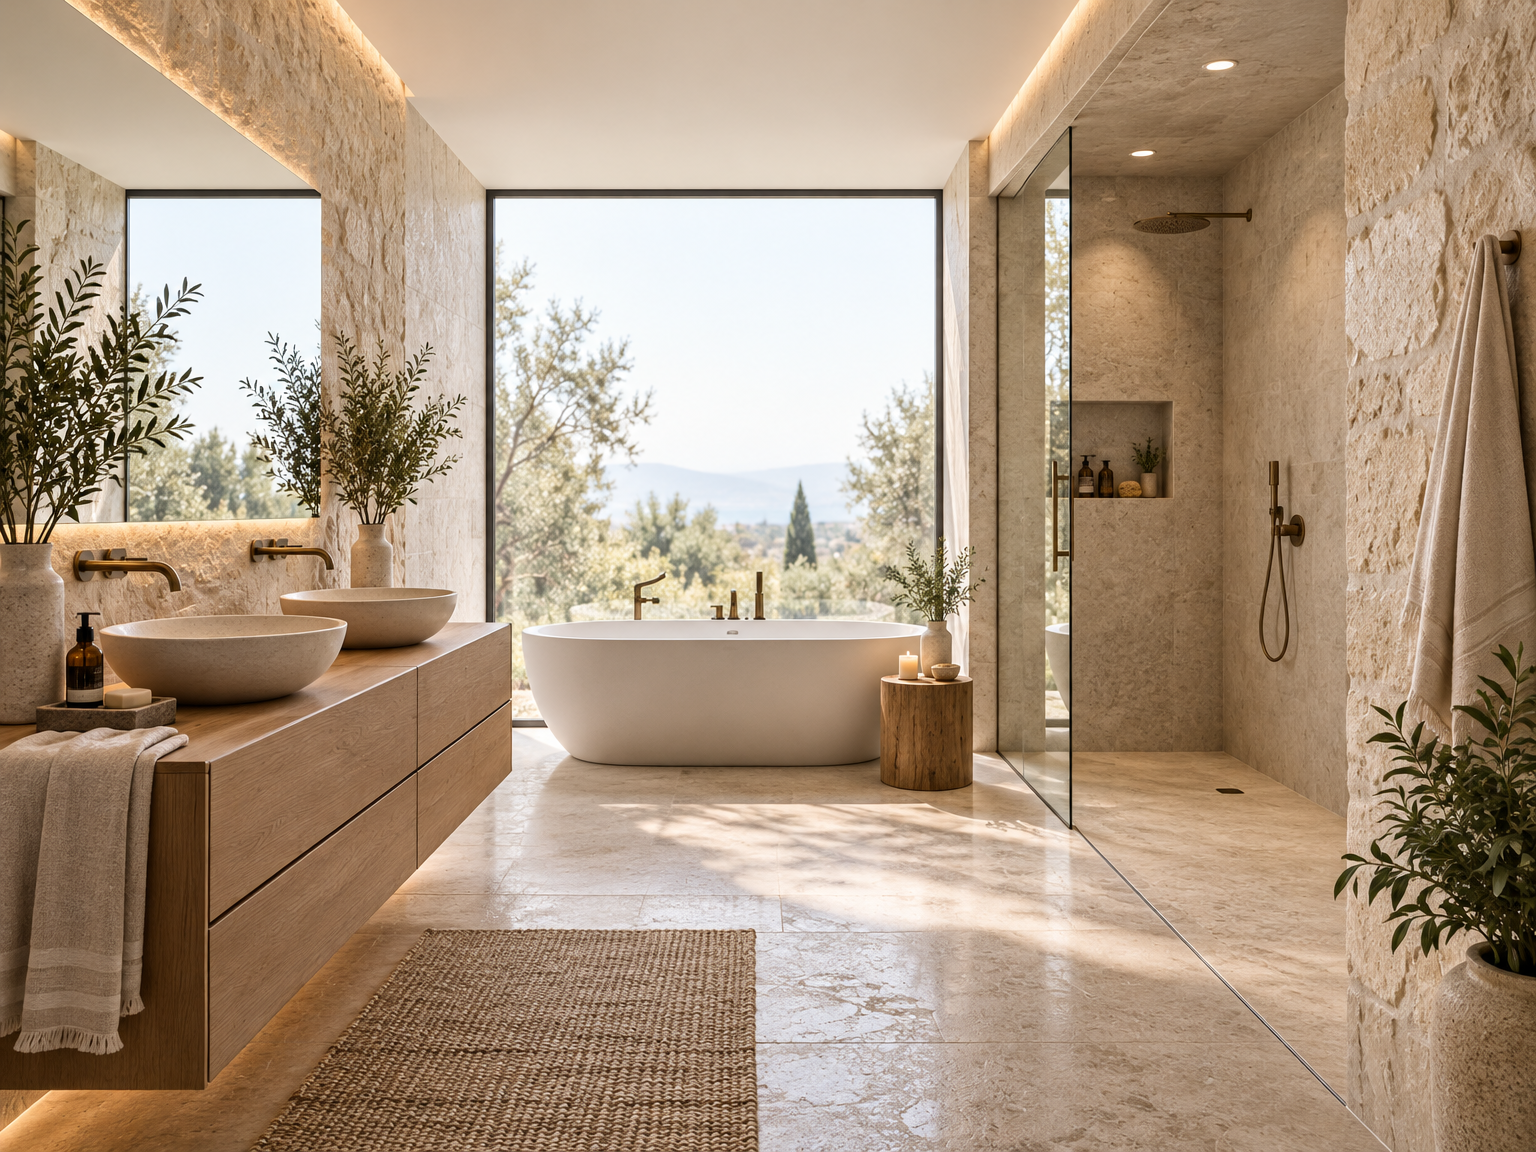
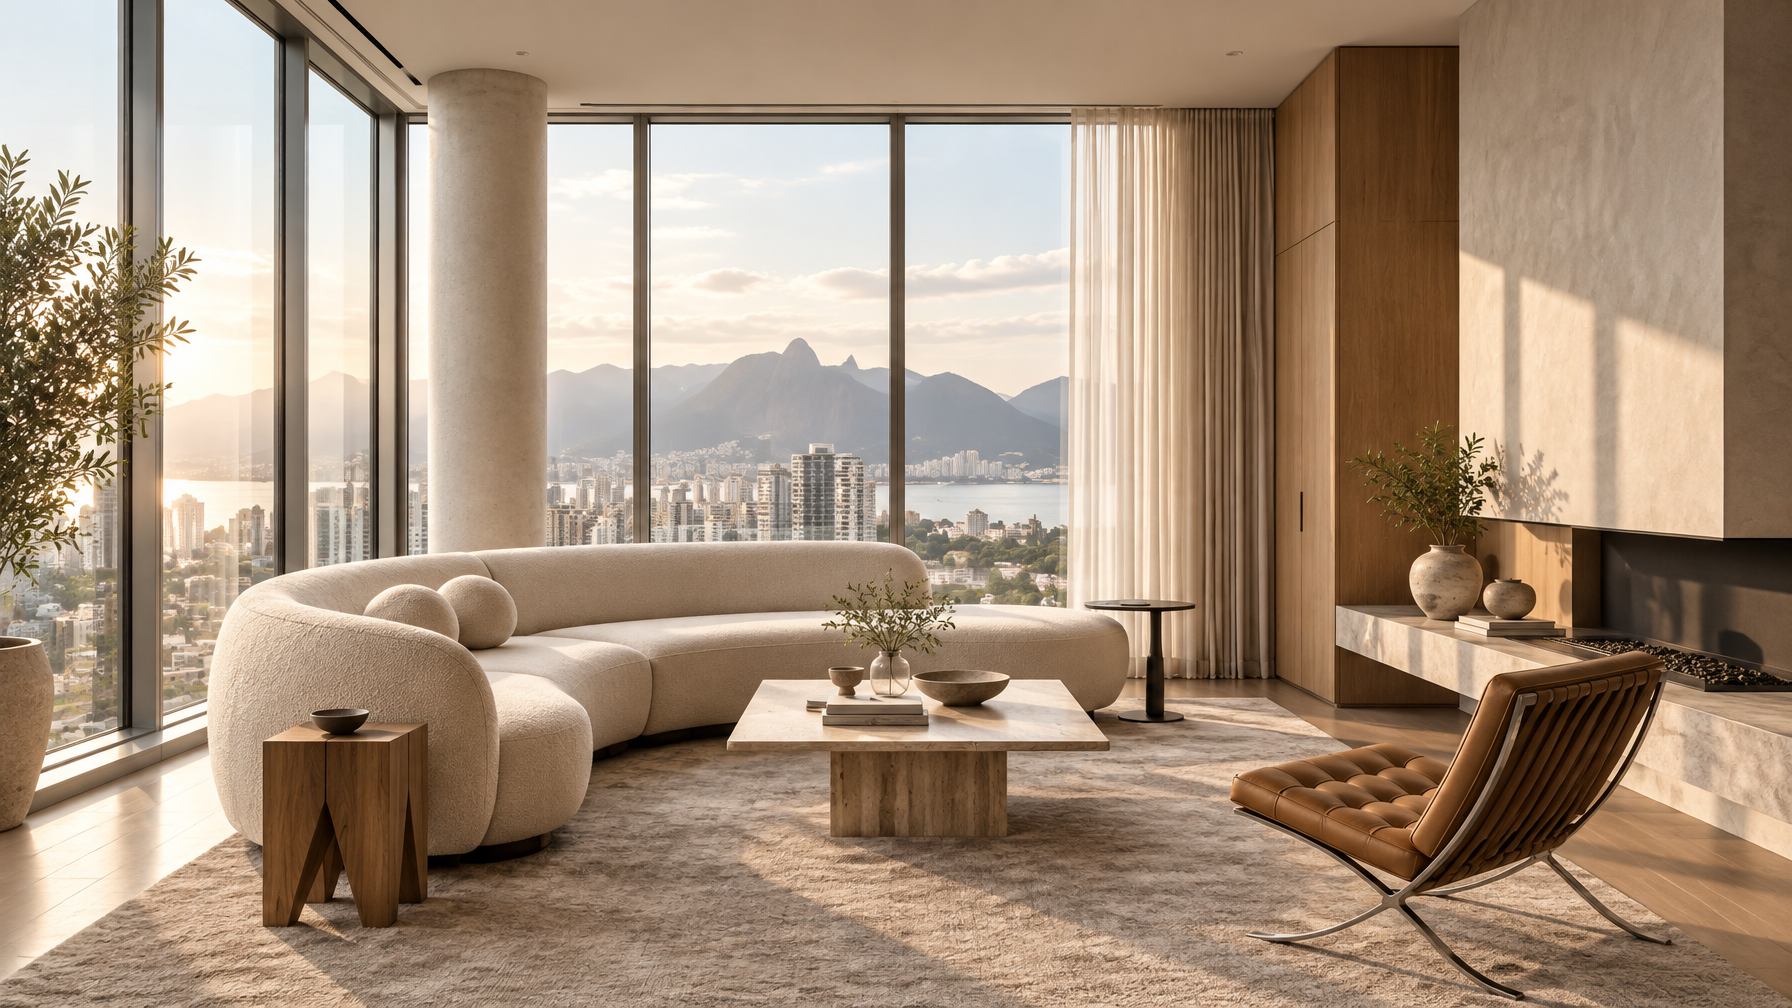
A photo of the room, a clear client brief, and a few references are enough to start exploring interior design concepts with artificial intelligence. What matters is how you guide the process: what needs to stay, which decisions need to be explored, and how each image helps the client choose.
This guide covers:
- Process: where AI fits, from the client brief to the presentation.
- Applications: what to explore and check in each room.
- Prompts: a structure to adapt and examples to use as a starting point.
- Review: criteria for choosing a tool and evaluating the results.
What is AI for interior design?
It is the use of artificial intelligence to support the creation and comparison of visual concepts for interior spaces. This includes exploring color palettes, furniture, finishes, mood boards, and renderings using text, photos, sketches, and other references.
You define the space, the constraints, and the design intent. The tool generates alternatives, and the professional selects, refines, and develops them. Dimensions, circulation, feasibility, and specifications remain part of your work.
Types of AI that can help your practice
| Type | How it can help | Example output |
|---|---|---|
| Image generation and editing | Explore composition, materials, and lighting | A rendering, style variation, or furnishing concept |
| Layout exploration and illustrated floor plans | Communicate how a space is organized | A floor plan visualization for a client presentation |
| Interior styling and staging | Visualize furniture, accessories, and finishes | A visual concept for an existing room |
| Text assistants | Organize questions, references, and talking points | A client brief, checklist, or meeting outline |
| Video and animation | Present a concept in motion | An animation based on a project image |
These tools serve different purposes. An illustrated floor plan, for example, helps you communicate with the client, but it is not an editable technical file with verified dimensions.
Why use AI in the design process?
During concept development, the same question often calls for several visual answers: light or dark wood? A lighter sofa or a modular arrangement? Warmer or more neutral lighting?
AI lets you explore these directions before developing every option in detail. To make the most of that process, keep a consistent base and change one variable at a time. This makes comparisons clearer and gives each new image a specific design decision to address.
In practice
Keep the same reference and change one decision at a time. Bring alternatives to the meeting that you can explain: what changed, why it changed, and how the proposal relates to the brief.
Where AI fits in your project workflow
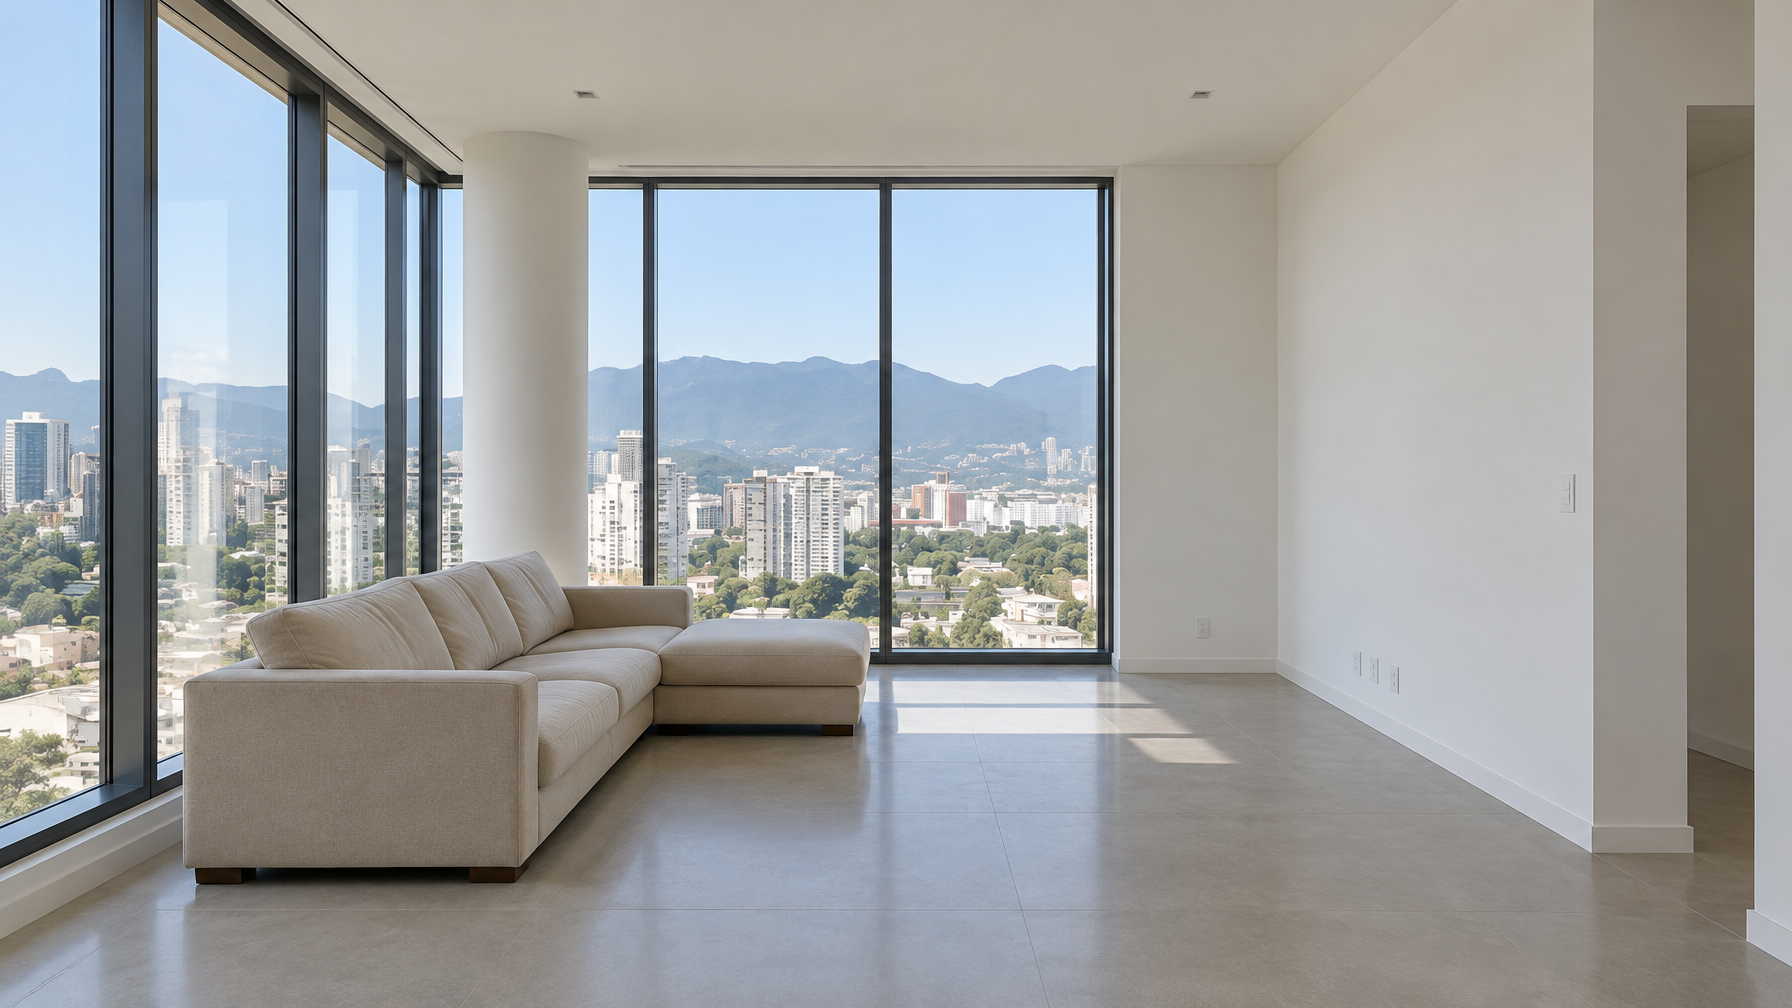
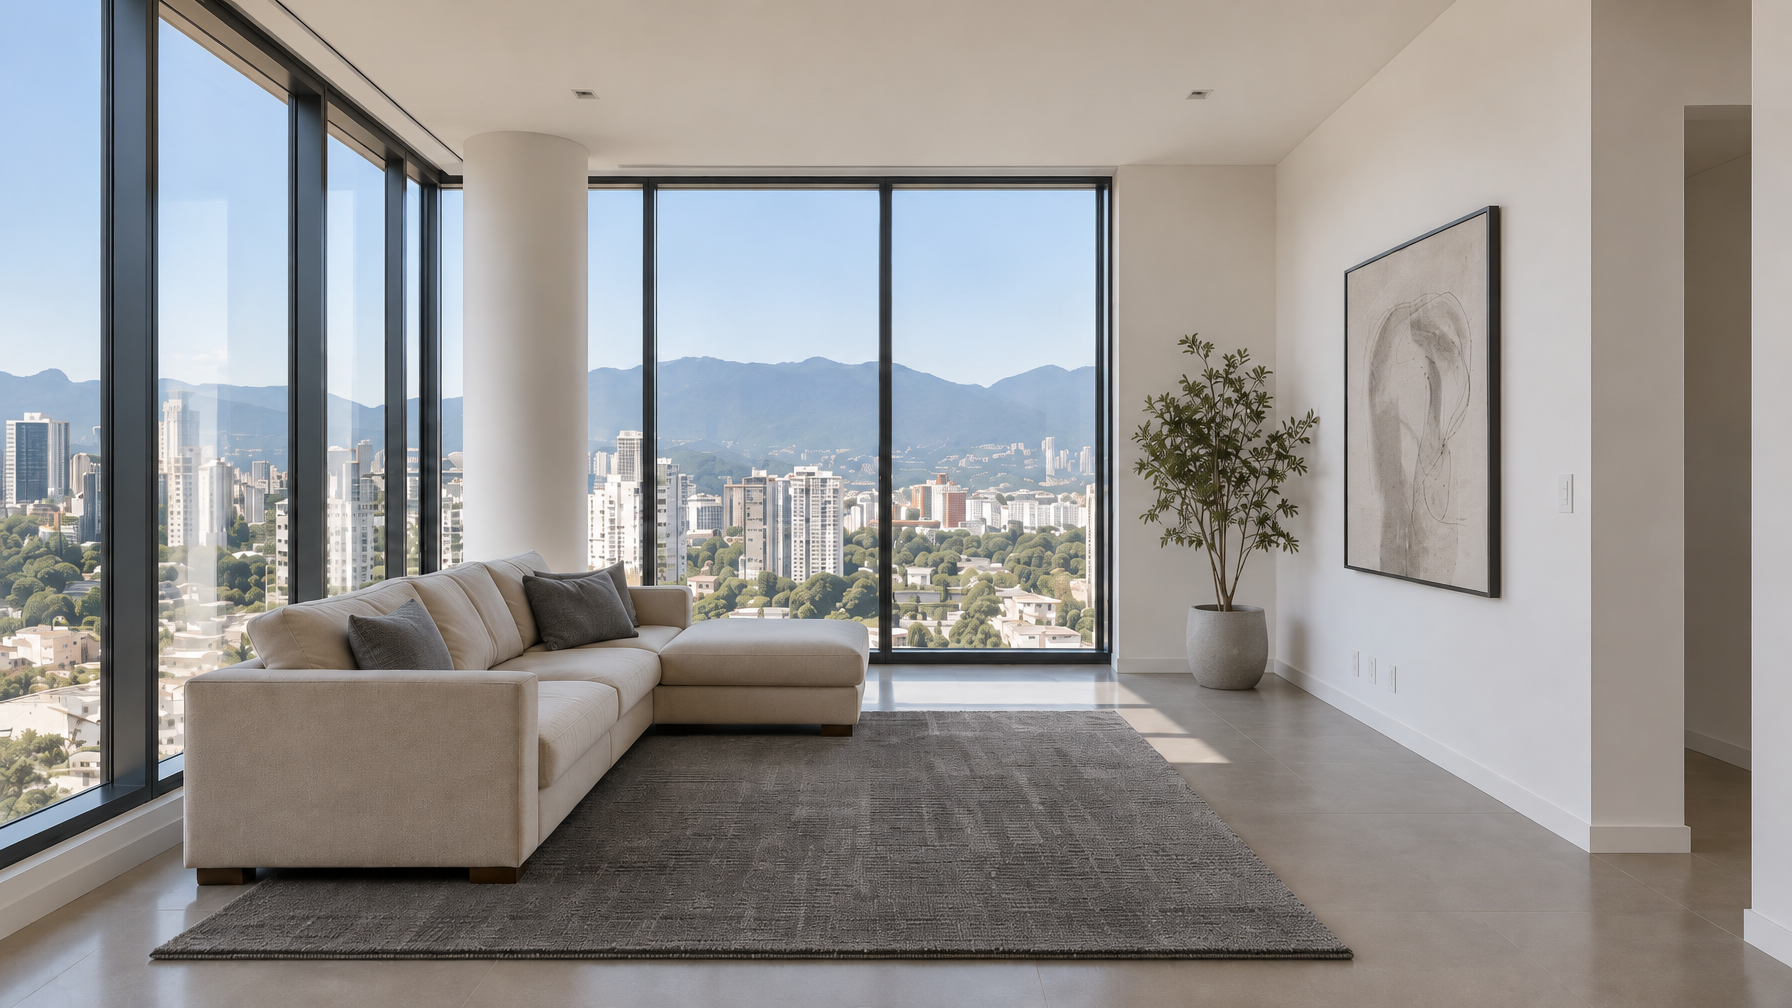
A before-and-after comparison helps communicate a proposal's intent: start with a reference space and explore a design direction.
1. Client brief and references
Before generating images, organize the information that defines the room:
- Who uses the space and what activities take place there.
- Which furniture, finishes, and other elements need to stay.
- The priorities for comfort, storage, and lighting.
- Which styles and references make sense for the client.
- The budget limits that should guide the choices.
A text assistant can help structure your questions. Visual references help clarify materials, proportions, and the intended atmosphere. Distinguish aesthetic preferences from the property's actual constraints.
2. Layout and circulation
Use a floor plan or sketch as the basis for exploring furniture arrangements. When generating a visualization, check that doors, windows, access points, and circulation areas have been preserved.
- During concept development: compare furniture positions and ways to organize the room.
- Before approval: return to the site measurements and technical model to verify dimensions and circulation.
3. Interior styling and finishes
Start with the same photo or view and work with controlled variations:
- Change the wall color while keeping the furniture.
- Try a different rug without changing the layout.
- Explore lighting while preserving the materials.
Isolating the question makes evaluation easier and prevents the client from comparing rooms with different architectural features.
4. Renderings and mood boards
Bring the approved references together into a coherent visual direction:
- Rendering: present the room's composition and atmosphere.
- Mood board: explain the combination of materials and finishes.
- Before and after: communicate the intended transformation when starting with a photo of an existing space.
Identify the images as visual studies and pair materials with their actual product references when it is time to specify them.
5. Presentation and documentation
Select the images that explain the design best. For each alternative, record:
- The intent and the proposed changes.
- The decisions that still require the client's input.
- The reference image, the prompt, and the approved version.
This record makes it easier to resume the work without rebuilding the context at every meeting. When useful, add animations to complement the presentation.
Room-by-room applications
For each space, distinguish what is worth exploring visually from what needs to be checked in the design.
Living room
- Explore: the relationship between the sofa, rug, armchairs, and lighting.
- Check: access points, circulation, and whether the arrangement suits everyday use and the number of people the room needs to accommodate.
Bedroom and primary suite
- Explore: headboards, bedding, bedside tables, and combinations of materials.
- Check: storage, circulation around the bed, and the location of lighting points.
Kitchen and entertaining area
- Explore: cabinet fronts, countertops, surface finishes, and pendant lights.
- Check: appliance locations, utilities, and work areas in the technical drawings.
Bathroom and powder room
- Explore: combinations of finishes, fixtures, mirrors, and lighting.
- Check: proportions, fixture dimensions, and installation requirements before moving the proposal into construction.
Home office
- Explore: cabinetry, the organization of books and objects, the background for video calls, and lighting.
- Check: ergonomics, desk depth, and screen placement.
Commercial and workplace interiors
- Explore: visual identity, reception areas, meeting spaces, and workstations.
- Check: operational flows, accessibility, and other requirements during technical design development.
How to write clearer prompts
A useful prompt describes the room and the decision you want to explore. Specific references help guide the result and make it easier to evaluate whether the image meets the request.
A structure to adapt to your practice
- Room and approximate dimensions: living room, kitchen, bedroom, or another space.
- Existing architecture: openings, ceiling height, and fixed elements.
- Visual intent: style, atmosphere, and main references.
- Palette and materials: colors, surfaces, and textures.
- Furniture: pieces that should appear or remain.
- Lighting: natural light, artificial light, and time of day.
- Framing: camera position and what needs to be visible.
- Constraints: what should stay the same as in the reference image.
Before generating
Constraints guide the generation, but they do not guarantee that every detail will be preserved. Compare the result with the reference side by side, especially when dimensions or structural elements are involved.
Contemporary Brazilian living room
Living room of approximately 30 m² with a 2.70 m ceiling height and large windows bringing in natural afternoon light. Contemporary Brazilian style, an off-white linen L-shaped sofa, a caramel leather armchair, a wooden coffee table, and a beige wool rug. Light gray porcelain tile flooring, sheer curtains, and olive-green accents. Photorealistic visualization at eye level. Preserve the window and access locations from the reference image.
Scandinavian bedroom
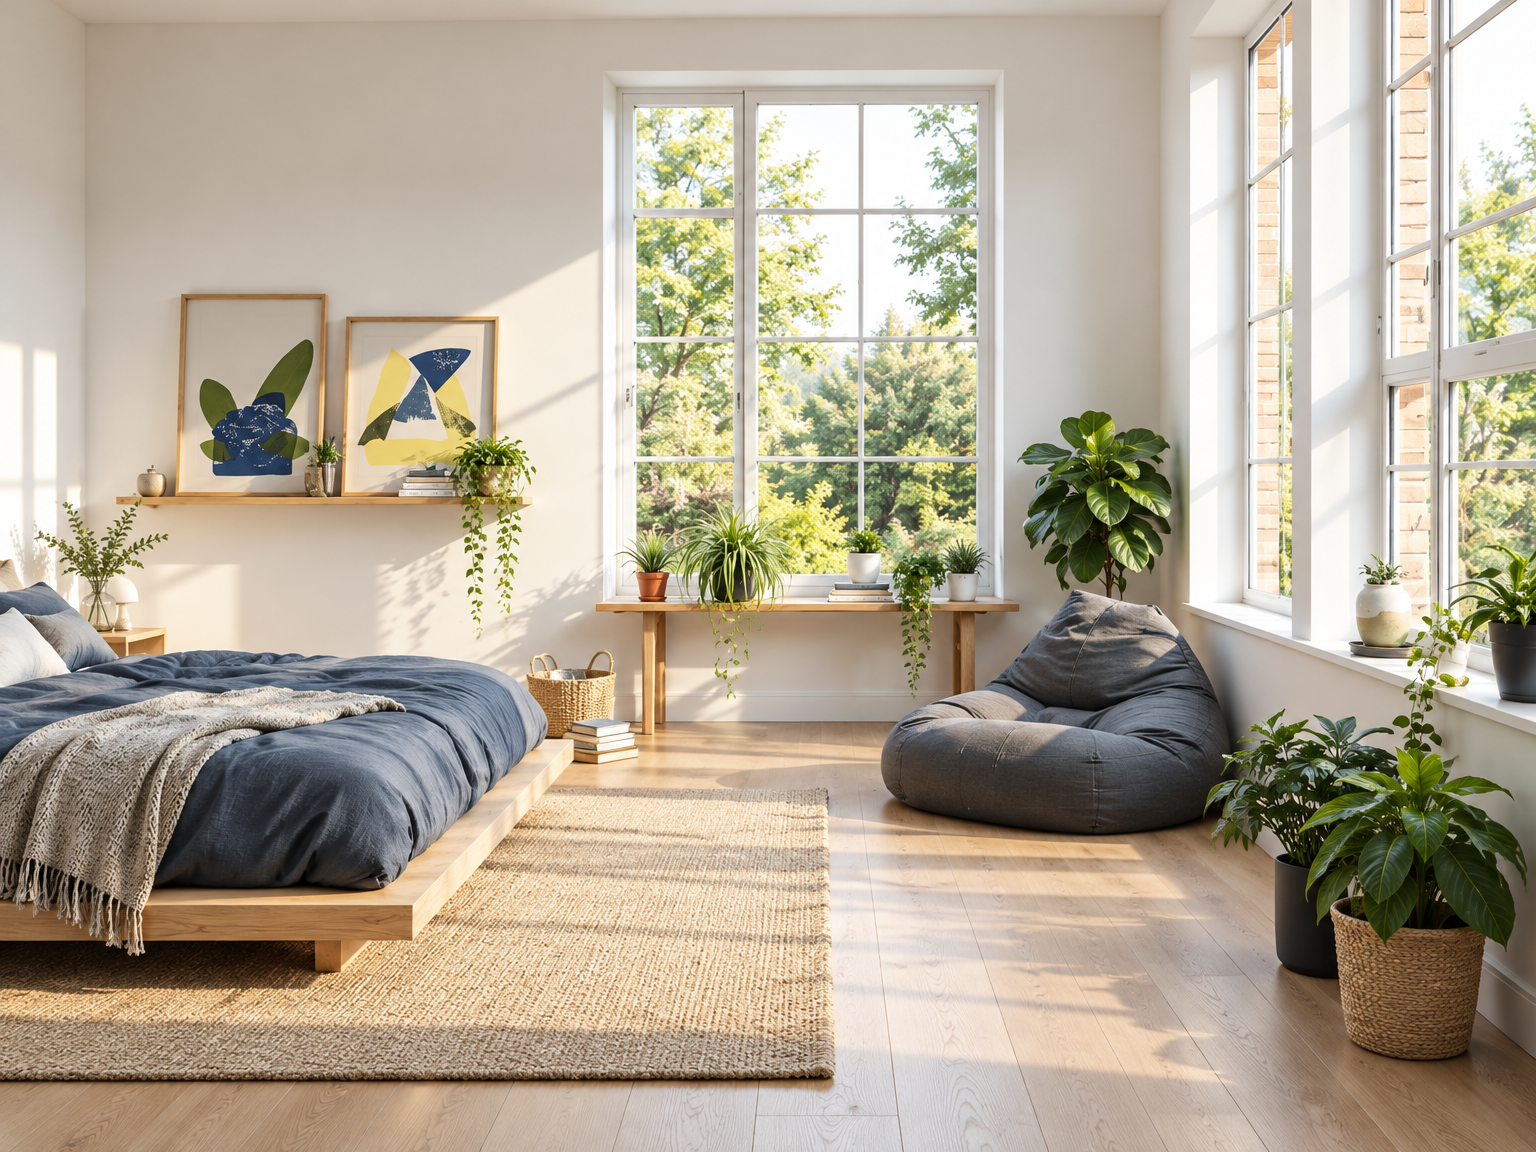
Bedroom suite of approximately 16 m² with a low light-wood bed, blue bedding, and simple bedside tables. Scandinavian style, natural textiles, a few accessories, and a plant. Light-colored walls, soft natural light, and a three-quarter view. Keep the architecture from the reference image.
Contemporary kitchen
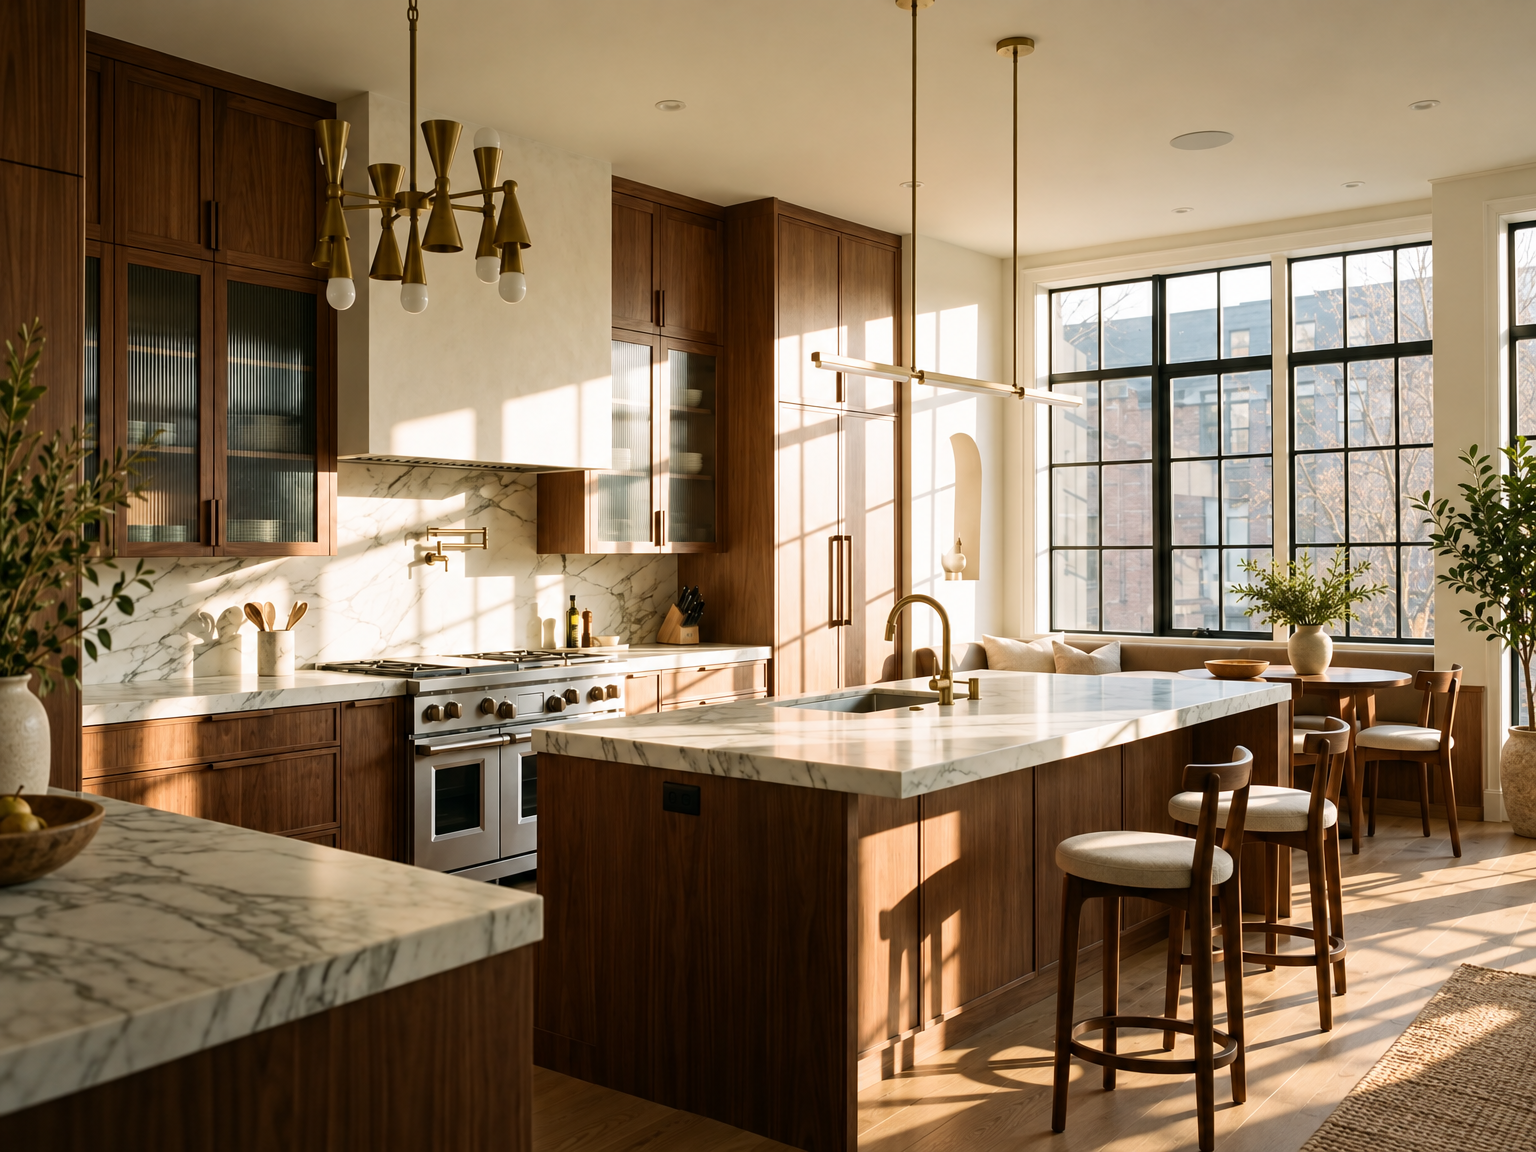
Kitchen of approximately 18 m² with an island, wooden cabinets, a marble countertop, and brass pendant lights. Contemporary composition, organized surfaces, and natural lighting. Front-facing visualization highlighting stone and wood textures. Preserve the openings and access points from the reference image.
Spa-inspired bathroom
Bathroom with a light stone countertop, an integrated sink, an organically shaped mirror, brass wall sconces, and warm gray porcelain tile. Spa-like atmosphere, diffused lighting, and softly textured materials. Eye-level view. Keep the fixture connections and spatial arrangement from the reference image.
Compact home office
Home office of approximately 9 m² in an apartment. A 1.40 m wooden desk, a black ergonomic chair, open walnut shelving, and a medium-sized plant. Off-white walls and the original wood parquet flooring. Natural light from a window on the left, complemented by task lighting. Preserve the access points and window from the reference image.
A different style in the same space
Use the reference image as the base. Preserve window locations, ceiling height, flooring, and access points. Explore a light industrial interior with a cognac leather sofa, exposed brick accents, and black metal details. Keep the framing consistent to make comparison with the original concept easier.
Change only the palette
Starting with the attached photo, preserve the composition, furniture, and framing. Explore terracotta, sand, and moss-green tones on the walls and textiles. Keep the lighting close to the original image. The concept should allow the color palettes to be compared without changing the room's arrangement.
Save the examples that work alongside the reference image and the design decisions. Use them as a starting point, adapting the text to the conditions of each room.
How to choose an AI tool for interiors
Start with the type of work you need to do. Exploring decoration from a photo, producing a presentation image, and developing a technical floor plan are different tasks.
| Criterion | What to look for |
|---|---|
| Input types | Whether it accepts the photos, sketches, or references you already use |
| Control over the proposal | How it guides changes and preserves important elements |
| Visual consistency | Whether the alternatives maintain a useful design direction |
| Export options | The formats, resolution, and limits available in the plan |
| Image usage | Terms for using images in presentations, portfolios, and communication |
| Ease of use | Whether the process fits your practice's routine |
To evaluate a tool, choose a real room, keep the same reference, and assess the results using the same criteria. Record both what worked and the corrections needed.
Limitations to include in your review
Visual generation can alter proportions, invent objects, remove details, or represent materials inaccurately. Before presenting or specifying a solution:
- Check doors, windows, fixed elements, and circulation.
- Compare the image with the site measurements.
- Verify materials using samples and supplier information.
- Distinguish the visual intent from structural and building systems design.
- Use references you are authorized to use.
- Explain which images are concept studies and which decisions have already been developed in the design.
From concept to construction
A visualization does not replace site measurements, construction drawings, or the responsible professional's review. Construction requires verified information.
A workflow with Decore
Decore is a visual workspace for architects and interior designers to create, edit, and present projects with AI. The site brings together applications for decoration, interior design, renderings, mood boards, illustrated floor plans, and animations.
To start with a room from one of your projects:
- Choose a reference. Select a photo, sketch, or project image and note what needs to stay.
- Define a question. For example: which palette works best with the existing floor?
- Explore alternatives. Use the right tool for the stage and change one decision at a time.
- Review the proposal. Check the architecture, proportions, materials, and consistency with the brief.
- Prepare the presentation. Select options you can explain and develop with the client.
Features and usage limits vary by plan. Check Decore's plans to choose the option that fits your workflow.
Start with one decision in your project
Choose a room, organize your references, and define a change worth exploring. Use one of the prompts as a starting point, compare the results, and develop the alternative that makes sense for the space.
This process keeps visual creation connected to the project: each image helps answer a question, each review improves the proposal, and each choice can be explained to the client.